Beauty blenders and makeup sponges have become essential tools for flawless makeup application. However, their porous material can trap bacteria, oils, and makeup residue if not cleaned regularly, leading to skin issues and reducing the sponge’s lifespan. Proper cleaning ensures your tools stay hygienic and effective. Here, we break down five simple hacks to clean your beauty blender or makeup sponge and keep them in top-notch condition.
Why Cleaning Your Beauty Blender is Important
Before diving into the hacks, it’s crucial to understand why cleaning your beauty blender matters. Makeup sponges are breeding grounds for bacteria, especially when damp. Using dirty tools can lead to acne, infections, and uneven makeup application. Cleaning not only ensures hygiene but also extends the life of your blender, keeping it soft and efficient.
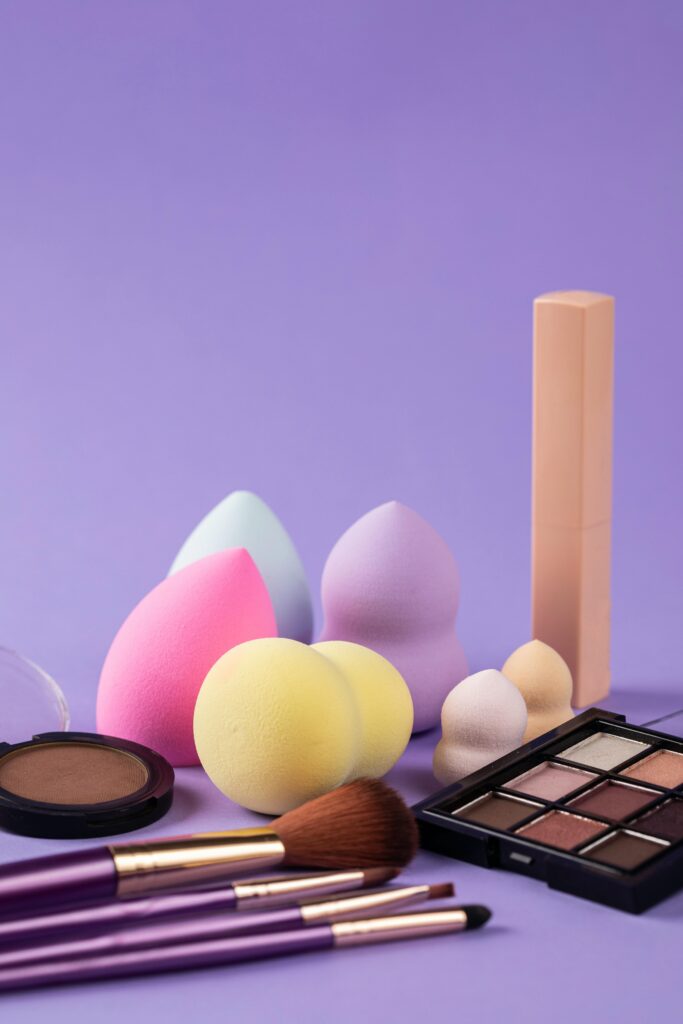
Hack 1: Use Warm Water and Gentle Soap
This is one of the most straightforward methods for cleaning your beauty blender.
What You’ll Need:
- Warm water
- A gentle liquid soap or baby shampoo
Steps:
- Fill a bowl with warm water.
- Add a few drops of gentle soap or baby shampoo.
- Submerge your beauty blender in the water and let it soak for a few minutes.
- Gently squeeze the sponge to release makeup residue, allowing the soap to reach the sponge’s layers.
- Rinse the sponge thoroughly under running water until the water runs clear.
- Squeeze out excess water and let it air dry in a clean, well-ventilated area.
Why This Hack Works:
Warm water and gentle soap dissolve makeup and oils without damaging the delicate sponge material.
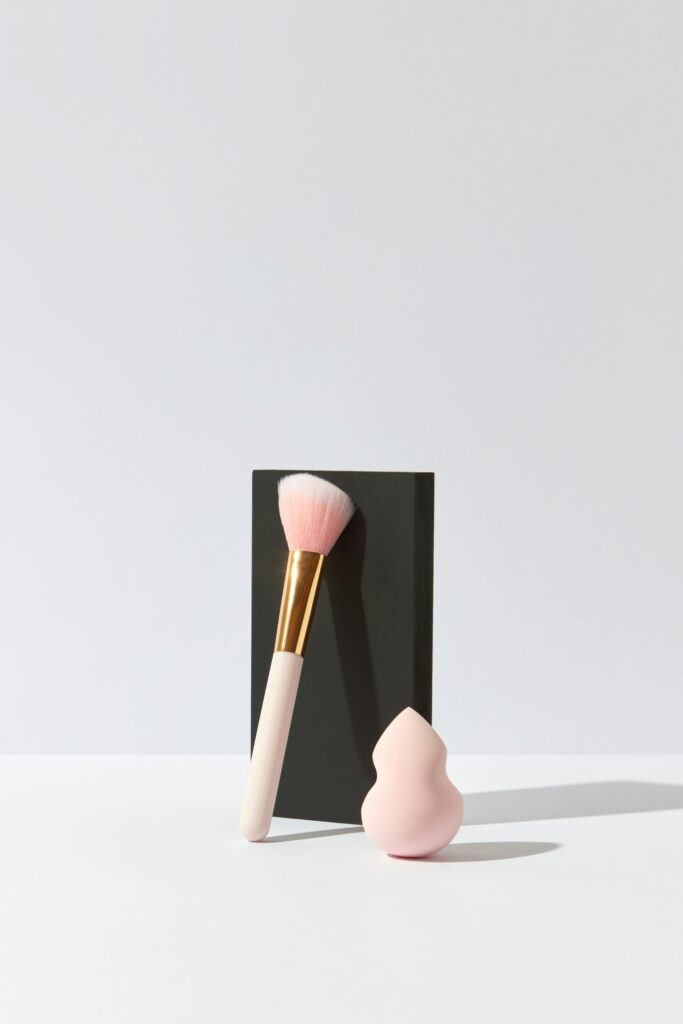
Hack 2: The Microwave Method
The microwave hack is perfect for killing bacteria and giving your beauty blender a deep clean.
What You’ll Need:
- A microwave-safe cup
- Water
- A drop of liquid soap
Steps:
- Fill a microwave-safe cup with water and add a drop of soap.
- Fully submerge your beauty blender in the soapy water.
- Place the cup in the microwave and heat it for 1 minute.
- Let the cup cool down before taking it out of the microwave.
- Wash the Beauty Blender under running water until all soap residue is completely rinsed away.
- Gently squeeze out any excess water and allow it to air dry.
Why This Hack Works:
The microwave’s heat kills bacteria while the soapy water removes built-up residue. This method is quick and effective for deep cleaning.
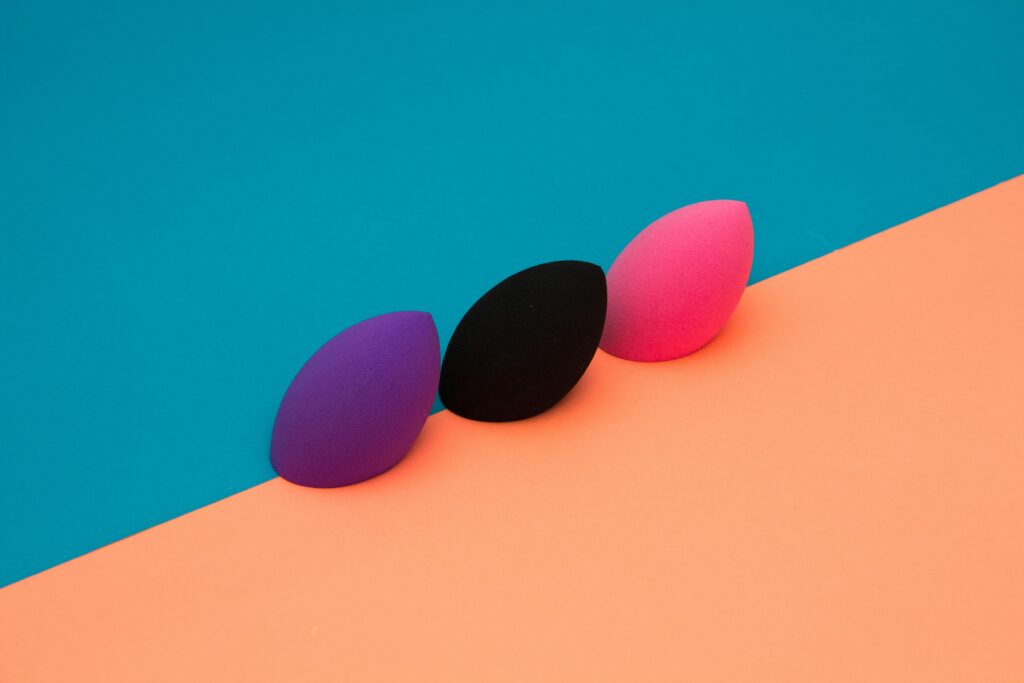
Hack 3: Olive Oil and Dish Soap Combo
For stubborn stains and heavy makeup buildup, the olive oil and dish soap method works wonders.
What You’ll Need:
- Olive oil
- Dish soap
- A small bowl
Steps:
- Mix equal parts olive oil and dish soap in a small bowl.
- Submerge the sponge into the mixture and gently massage it to loosen the makeup stains.
- Wash the Beauty Blender under running water until all soap residue is completely rinsed away.
- Gently squeeze out any excess water and allow it to air dry.
Why This Hack Works:
Olive oil breaks down tough makeup products like foundation and concealer, while dish soap cuts through grease and residue.
Hack 4: The Cleansing Mat Technique
If you have a makeup brush cleansing mat, it can double as a cleaning tool for your beauty blender.
What You’ll Need:
- A cleansing mat
- Liquid soap or cleanser
- Warm water
Steps:
- Apply a few drops of soap onto the cleansing mat.
- Wet your beauty blender with warm water.
- Gently rub the sponge over the textured surface of the mat, allowing the grooves to remove makeup and dirt.
- Rinse the beauty blender under running water until all soap is gone.
- Gently squeeze out any excess water and place the sponge on a clean towel to air dry.
Why This Hack Works:
The textured surface of the cleansing mat effectively removes makeup residue without damaging the sponge.
Hack 5: The Overnight Soak Method
For extremely dirty beauty blenders, an overnight soak provides a thorough cleanse.
What You’ll Need:
- A bowl
- Water
- Makeup sponge cleanser or baby shampoo
Steps:
- Fill a bowl with water and add a generous amount of cleanser or baby shampoo.
- Fully dip your beauty blender in the solution.
- Let it soak overnight to loosen all the makeup and grime.
- In the morning, rinse the beauty blender under running water, squeezing gently until the water runs clear.
- Gently squeeze out the excess water and allow it to air dry.
Why This Hack Works:
The extended soaking time allows the cleanser to fully penetrate the sponge, helping to break down stubborn stains and residue.
Additional Tips for a Clean Beauty Blender
Here are some additional tips for maintaining a clean Beauty Blender:
- Clean Regularly: Wash your Beauty Blender after every use to prevent buildup of makeup, oils, and bacteria.
- Use Gentle Cleaners: Opt for a mild, non-irritating cleanser or a Beauty Blender-specific cleaner to preserve the sponge’s texture.
- Avoid Harsh Chemicals: Steer clear of strong chemicals that can break down the material of the sponge over time.
- Store Properly: Keep your Beauty Blender in a dry, clean place to prevent bacterial growth. You can use a case or holder to keep it protected.
- Replace When Necessary: Beauty Blenders have a lifespan of about 3-6 months, depending on usage. Replace them when you notice wear and tear or an inability to clean thoroughly.
- Don’t Over-soak: While soaking helps clean the sponge, prolonged soaking can damage the material. Limit soaking to a few minutes.
- Use a Towel for Drying: After washing, gently squeeze the sponge and place it on a clean towel to air dry, ensuring it keeps its shape.
- Disinfect Periodically: To maintain hygiene, occasionally disinfect your Beauty Blender with rubbing alcohol after deep cleaning.
Conclusion
A clean Beauty Blender is key to achieving flawless makeup and maintaining healthy skin. These five easy hacks ensure your sponge stays hygienic and lasts longer, saving you time and money. Whether you opt for a quick microwave clean or an overnight soak, keeping your beauty tools in top condition has never been easier. Incorporate these methods into your routine,and enjoy a spotless beauty blender for every makeup session!
