Facials are a great way to refresh your skin, unclog pores, and give your face a healthy, radiant glow. While many people visit salons for professional facials, doing one at home can be equally effective and much more budget-friendly. In this article, we will guide you through the four easy steps to perform a facial at home, along with important precautions and useful tips to ensure the best results.
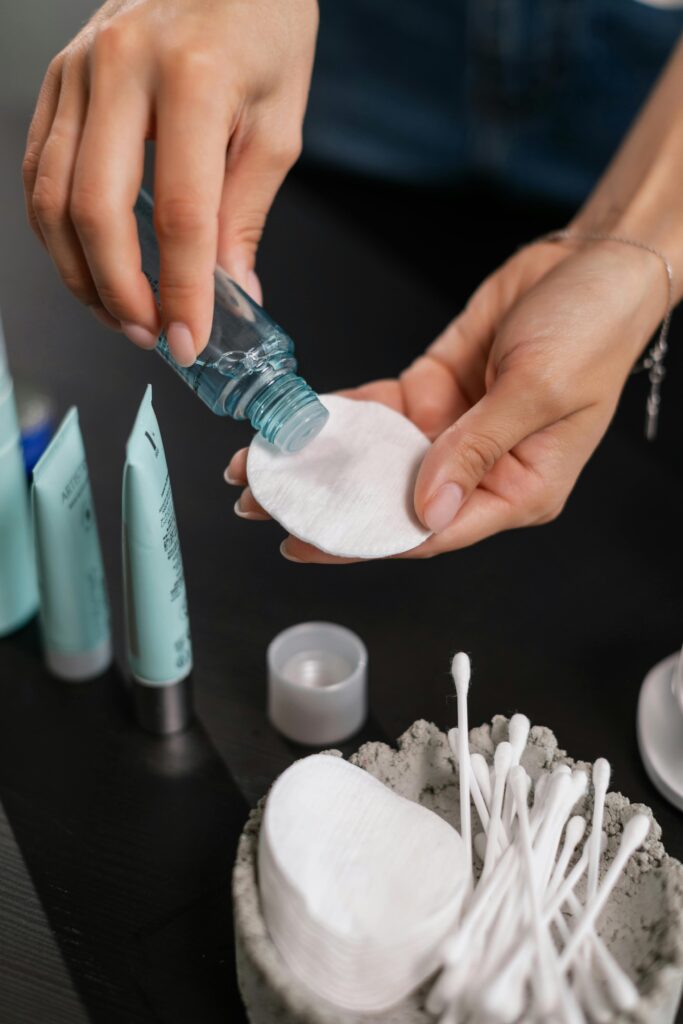
Step 1: Cleansing Your Skin
The first and most important step in a facial is cleansing. Dirt, oil, and makeup residue accumulate on your skin throughout the day. If left on the skin, these impurities can clog pores, leading to acne or dullness. Therefore, cleansing is essential to prepare your face for the next steps of the facial process.
- Choose a gentle cleanser: Select a cleanser suited for your skin type. If you have oily skin, go for a gel-based cleanser that helps to remove excess oil. For dry skin, a cream-based or hydrating cleanser will be more beneficial. Those with sensitive skin should look for a mild, fragrance-free option to avoid irritation.
- Massage in circular motions: Apply the cleanser to your damp face and massage it gently in circular motions. This method helps remove impurities and boosts blood circulation, ensuring better absorption of the next skincare products.
- Rinse thoroughly: Rinse your face thoroughly with lukewarm water after massaging the cleanser in. Avoid hot water, as it can strip your skin of natural oils, leading to dryness.
- Pat your face dry: Gently pat your face dry with a clean towel. Refrain from rubbing, as it may irritate the skin.

Step 2: Exfoliating the Skin
Exfoliation removes dead skin cells from the surface of your skin, allowing fresh, new cells to emerge. This step not only gives your face a smoother appearance but also helps prevent clogged pores, which can cause breakouts. You can exfoliate using either a physical scrub or a chemical exfoliant, depending on your preference and skin type.
- Choose an exfoliator: A physical exfoliant contains small particles that slough off dead skin when massaged into the skin. For a gentler exfoliation, opt for a scrub with fine particles, especially if you have sensitive skin. On the other hand, chemical exfoliants contain acids like AHAs (alpha-hydroxy acids) or BHAs (beta-hydroxy acids), which dissolve dead skin cells. These are ideal for acne-prone or oily skin.
- Apply exfoliant gently: If you’re using a physical scrub, take a small amount of product and apply it to your face in circular motions, avoiding the delicate eye area. For chemical exfoliants, follow the instructions on the packaging, as these can vary in strength. Leave the product on for the recommended time before rinsing off.
- Rinse and dry: After exfoliating, rinse your face thoroughly with lukewarm water and pat it dry with a towel. Be sure not to scrub your skin aggressively, as this could cause irritation.
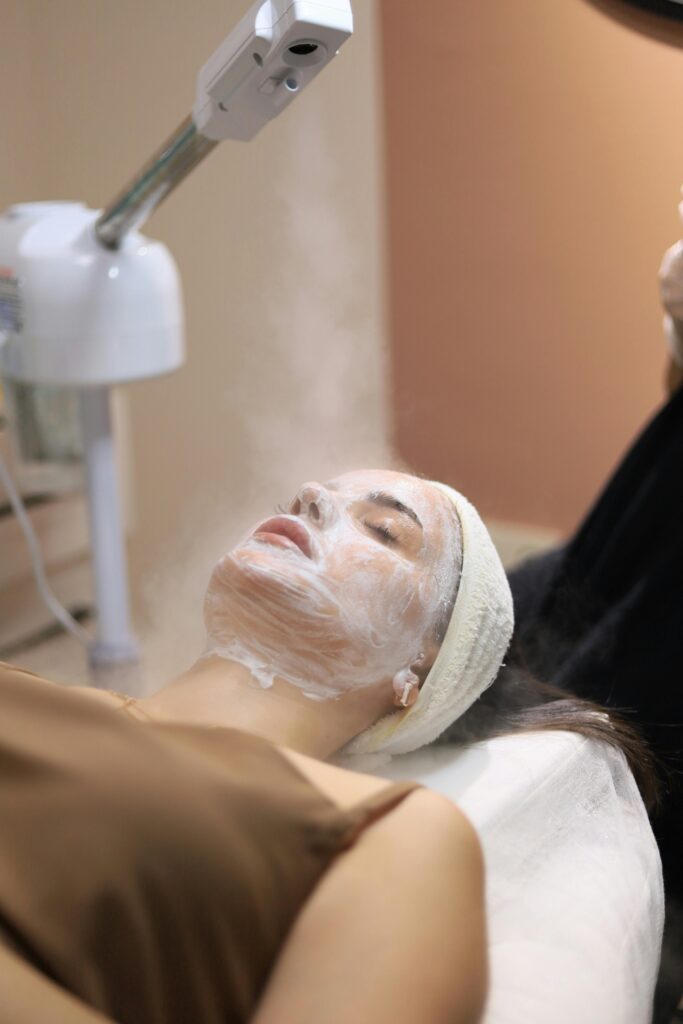
Step 3: Steam for Pore Opening
Steaming your face is an effective way to open up your pores, allowing for deeper cleaning and better absorption of products. This step also helps relax facial muscles, promoting better circulation.
- Boil water and set up a steam station: Boil a pot of water and pour it into a large bowl. You can add a few drops of essential oils, such as lavender or eucalyptus, for a soothing aroma that also provides additional benefits to your skin. Hold your face over the steaming bowl while draping a towel over your head to trap the steam.
- Steam for 5-10 minutes: Close your eyes and relax while letting the steam gently open your pores. Steaming should not be too hot or uncomfortable. If the heat feels too intense, maintain a little distance from the steam to avoid burning your skin.
- Follow with a mask (optional): After steaming, your skin will be more receptive to a face mask. This is the ideal time to apply one, as the steam has already loosened any buildup in your pores. You can use a clay mask for oily skin or a hydrating sheet mask for dry skin.
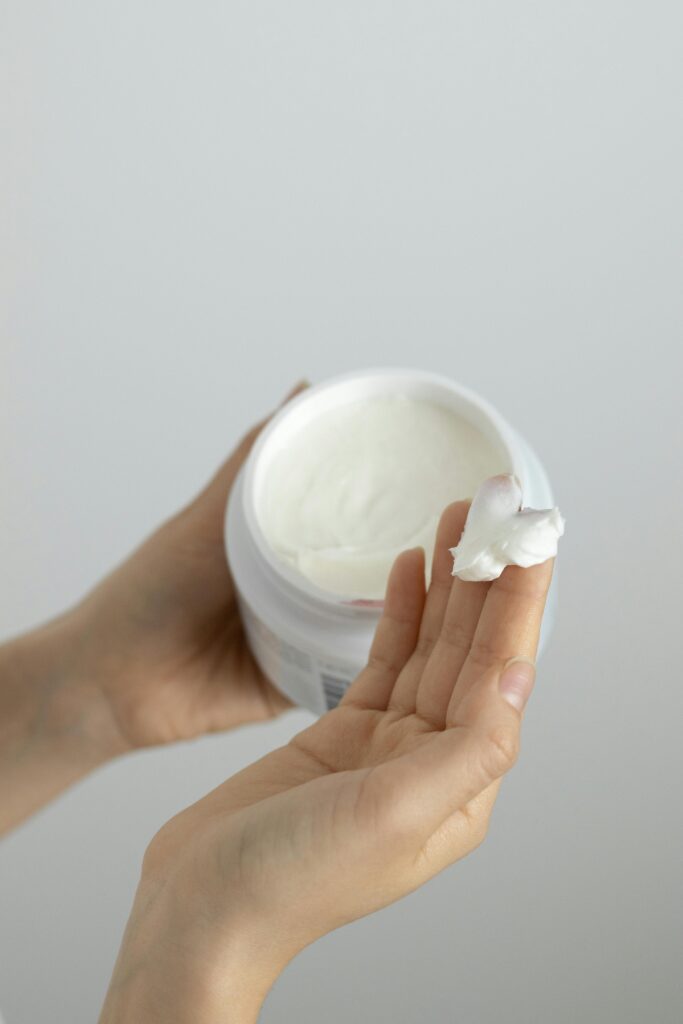
Step 4: Moisturizing and Nourishing
The final step in your at-home facial is moisturizing, which helps lock in hydration and nutrients to keep your skin feeling soft and rejuvenated. Select a moisturizer that caters to your skin type and specific needs.
- Pick a suitable moisturizer: For oily skin, opt for a lightweight, oil-free moisturizer that hydrates without clogging pores. Those with dry skin should use a richer cream to replenish moisture. If you have sensitive skin, choose a product that is hypoallergenic and fragrance-free to avoid irritation.
- Massage in an upward motion: Apply the moisturizer to your face using upward, gentle strokes. Avoid pulling the skin downward, as this can lead to premature wrinkles. Be sure to focus on areas that are prone to dryness or where you may have fine lines.
- Consider adding a serum: You can also add a serum to target specific concerns, such as anti-aging, acne, or hyperpigmentation. Serums are formulated with concentrated active ingredients that penetrate deeper into the skin.

Precautions When Doing a Facial at Home
While facials at home can be incredibly beneficial, there are a few precautions you should take to avoid damaging your skin.
- Know your skin type: It’s essential to choose products that suit your skin type. Using the wrong products could lead to breakouts, irritation, or other issues. If you are unsure of your skin type, consult a dermatologist or skincare professional before starting your facial routine.
- Avoid harsh ingredients: Be cautious when using products that contain strong active ingredients like retinoids or acids, especially if you are new to skincare. Excessive use or improper application can cause skin irritation. Start with mild products and gradually build up your routine.
- Avoid over-exfoliating: Exfoliating too often can remove your skin’s natural oils, resulting in dryness and increased sensitivity. Restrict exfoliation to once or twice a week.
- Patch test new products: Before applying a new product to your entire face, perform a patch test on a small area of your skin. This will help you identify any allergic reactions or sensitivities to the ingredients.
- Take breaks if necessary: If you feel any discomfort during your facial, such as burning, stinging, or redness, stop immediately. These could be signs that a product is not suitable for your skin.

Additional Tips for the Best At-Home Facial
- Hydrate: Drink plenty of water before, during, and after your facial. Hydration helps maintain your skin’s elasticity and ensures that your facial products work effectively.
- Use a clean towel: Always use a fresh, clean towel to pat your face dry, as old towels can harbor bacteria that could clog your pores.
- Don’t skip sunscreen: After finishing your facial, be sure to apply sunscreen if you are stepping outside. Freshly exfoliated skin is more sensitive to the sun’s harmful UV rays.
- Establish a routine: To see lasting benefits, incorporate facial treatments into your regular skincare routine. Aim to perform a facial at home once every two weeks or as needed.
Conclusion
Performing a facial at home is an affordable and effective way to take care of your skin. By following these four easy steps—cleansing, exfoliating, steaming, and moisturizing—you can enjoy a salon-like experience in the comfort of your own home. Just be mindful of your skin type, choose products that suit your needs, and follow the recommended precautions to avoid irritation. With regular facials and a little self-care, you can maintain healthy, glowing skin all year round.
